O&O DiskImage will let you image individual drives (partitions/volumes). This enables you to image system and data drives separately from each other. In case of data loss, it then only becomes necessary to restore the data drive. You don't need to restore your entire computer.
To create an image of one or more drives, please follow the instructions below:
- In the start page select Drive imaging.
- Select one or more drives from the drive list. Enable the check next to the drive you want to select.
- Optionally, you can specify further settings under Imaging options or add the selected activity as Job.
- To start the imaging process click on Start drive imaging.
- Enter the target path of the drive on which you want to save the image. You can either accept the suggested default path or select another location. Under Program settings, you can also select individual default paths.
- The image is automatically named after the date of creation. You can, however, enter a name manually. All information from the image will be saved and can later be accessed through Image Information.
- Select Start. The image file will now be created.
Note:
If there is not enough space to store the entire image, you will be prompted to enter a new target path during the imaging process.
If there is not enough space to store the entire image, you will be prompted to enter a new target path during the imaging process.
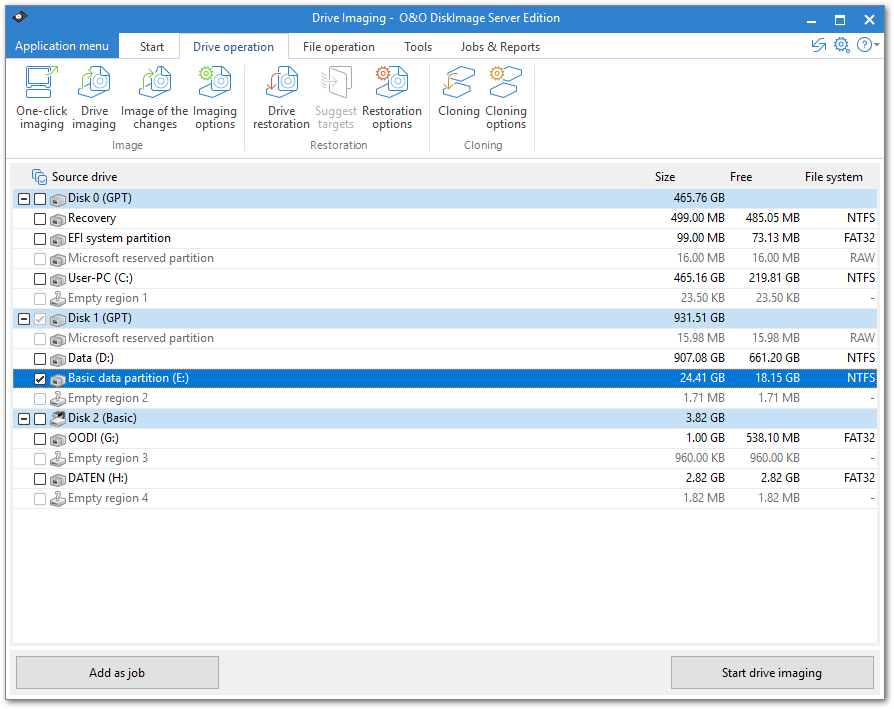
Image drives (Server Edition)
Drive lists
Although the drive list in the Professional Edition appears somewhat different than the one seen in the Server Edition, this is only a question of presentation: the functionality of both Editions is here identical.
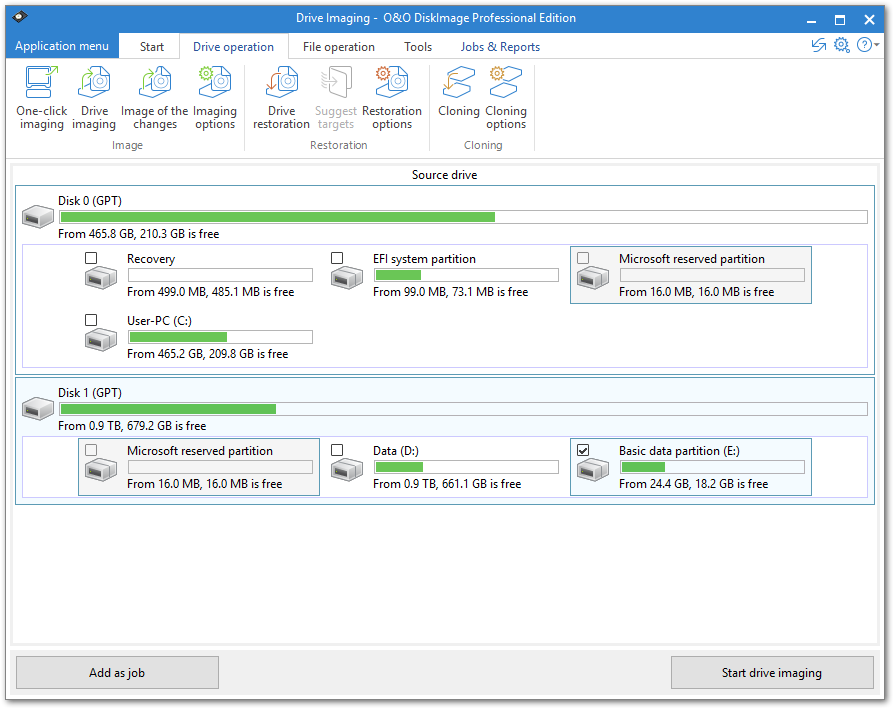
DiskView (Professional Edition)