Backing Up Individual Drives
With O&O DiskImage, you can back up individual drives (partitions/volumes), allowing you to separately secure system and data drives. In the event of data loss, this means only the affected data drive needs to be restored, without the necessity for a full system restoration.
How to Back Up One or More Drives
- Select Drive Backup from the home page.
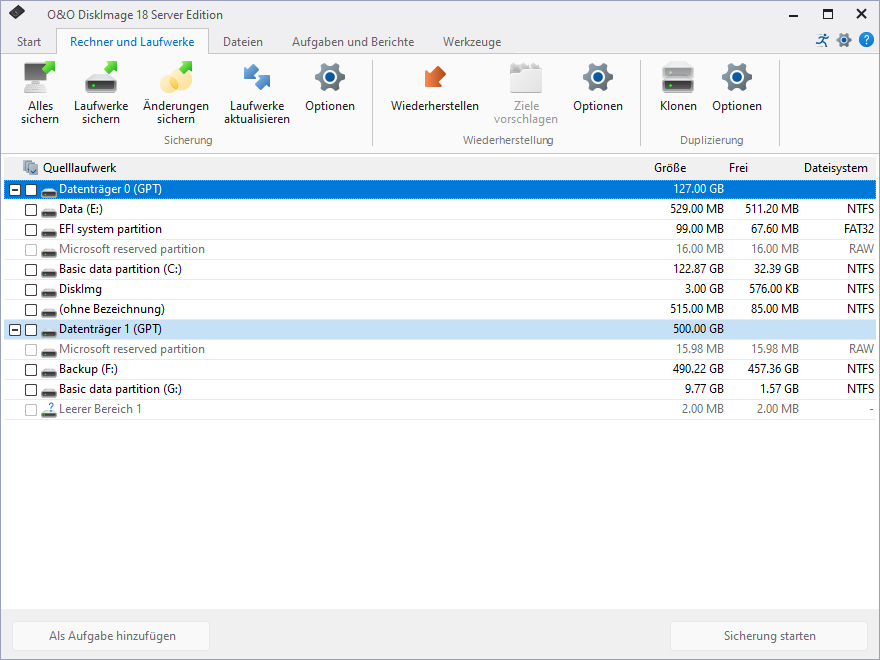
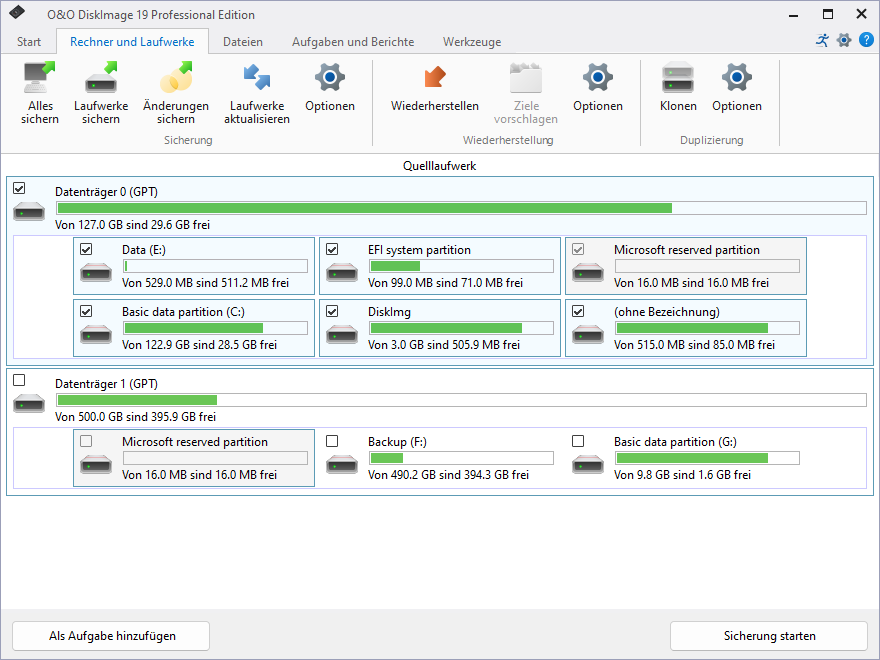
- In the drive list, select one or more drives you want to back up and activate the corresponding checkbox.
- Optional: Under Backup Options, you can make additional settings or schedule the backup as a regular task.
- Choose Start Drive Backup to proceed to the next step.
- Specify the destination path where the backup will be stored. You can either use a suggested default path or choose a custom location. Through the Program Settings, you can also set up an individual default path.
- By default, the backup is named after the date of creation, but you can also enter a custom name. All information of the backup is saved and can later be accessed via the backup information.
- Click on Start to create the backup.
Note: If the storage medium is insufficient to store the backup completely, you will be prompted during the backup process to specify a new destination path.

Drive List
The drive list slightly differs in the Professional Edition compared to the Server Edition. This is merely a design decision; the functionality of both editions is the same at this point.
