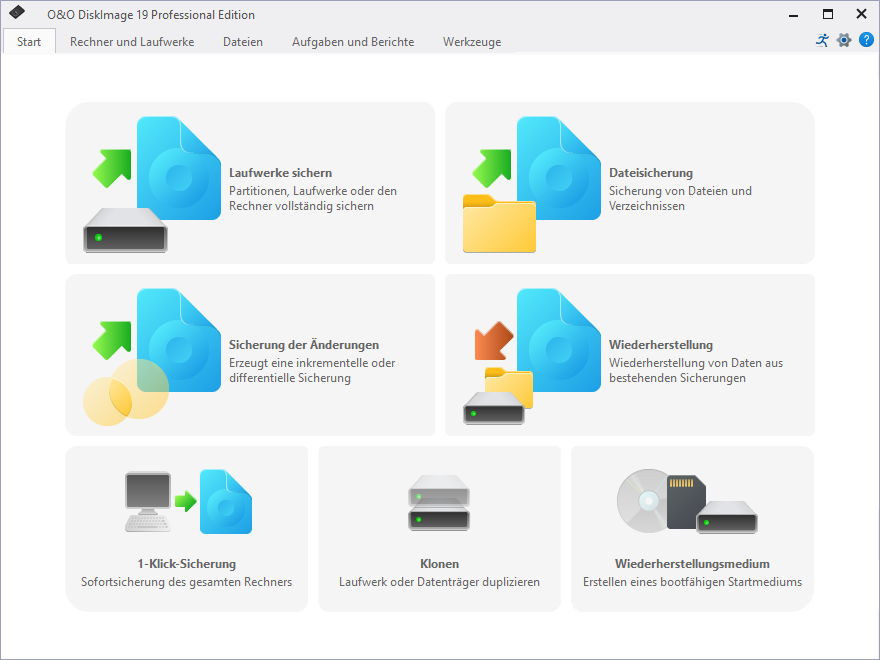
Quick Start Guide for O&O DiskImage
After installing O&O DiskImage, you have various options to securely back up and restore your data when needed. This guide will take you through the basic steps from initiating the program to conducting your first backup.

Starting O&O DiskImage
- Open O&O DiskImage via the desktop shortcut or through the Windows Start menu under Start Menu/O&O DiskImage.
- For a quick and easy operation, select the O&O DiskImage Express option, which provides a simplified view.
- The O&O DiskImage Tray icon in the system tray provides quick access to status information and frequently used functions.
Creating a Backup
- Select the Create Backup option in the main window of O&O DiskImage.
- Select the drive or files you want to back up.
- Set the destination for the backup file, such as an external hard drive, a network drive, or cloud storage.
- Start the backup process by clicking on Start. The duration of the process depends on the size of the data and the speed of your storage media.
Restoring a Backup
- Open the main window and select Restore.
- Navigate to the backup file you want to use.
- Select the specific data or drive you want to restore.
- Begin the restoration by clicking on Restore and follow the instructions to safely restore your data.
Accessing the Program Help
- You can access the help at any time via the Help menu in the menu bar or by pressing the F1 key.
Note: Ensure that your backup targets have sufficient storage space and are regularly checked to maintain the integrity of the backups.
This Quick Start Guide provides you with the essential steps to work quickly and safely with O&O DiskImage. With just a few clicks, you can back up your important data and restore it effortlessly when needed.