Before setting up a job, you’ll have to select an activity.
- On the start page, click the activity you want to perform, e.g. Drive imaging, or File backup.
- Select a drive or, in case of a file backup, a folder.
- Click Options if you want to specify certain settings for a job, such as the imaging method, encryption, or compression. Your settings will then be saved and applied to the subsequent job.
- Now click the symbol Add as job.
- Enter the name of your job in the dialog. It will later be used for the creation of the report and serve as reference. The name of the job has only symbolic meaning and may already be applied to other jobs.
- Specify further settings such as scheduling, notification, imaging, etc.
In the field Notes you may enter text for providing a few details about the job.
Job enabled
If you don't wish to run a job for a short period of time but don’t want to delete it altogether, you may disable it. The job will then not be run until you enable it once again.
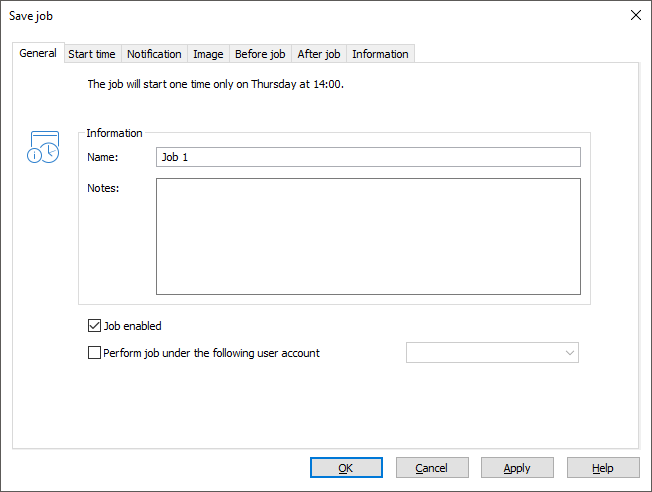
Execute Job as User
When creating a job, a recognized user can be selected in the security settings. When the task is executed it will be listed under that users account. This applies both to saving the image as well as preliminary work and editing. This enables the use of commands in preliminary work and editing, but these require authentification information and access to a network.