For this start O&O DiskRecovery either over the desktop link or under Start/All Programs/O&O Software/O&O DiskRecovery. You can also have online help displayed by clicking Help or pushing F1.
As soon as O&O DiskRecovery starts, it is possible to begin a new data recovery session or continue one you have saved. Clicking Next will take you to the Drive Selection dialog box. O&O DiskRecovery may be Canceled at any time.
Loading a Saved Data Recovery
- Select Load a stored data rescue for continuance and select the file with the data rescue. Such a file generally has the extension DRD.
- The data recovery information will then be loaded. Then you will be able to continue with your data rescue. If the data volume on which you would like to recover data is not present on your system, an error message will appear.
Execute data rescue from an image
Our data imaging programm O&O DiskImage can be used to create a direct forensic 1:1 image of the affected disk. This image (*.omg) can be mounted as drive under Windows, and you can try to rescue your data with O&O DiskRecovery. The advantage is that the original disk will no longer be needed and thus can be used for other measures, such as sending it to a data rescue facility.
- Under Load an image of a drive, which has been using O&O DiskImage you can load a created image(*.omg), and then run the data rescue from there.
User defined file signatures
Some types of files are not supported by O&O DiskRecovery. However, if you would like to add your own file signature so that O&O DiskRecovery will detect such files during its scan, select Create user defined signatures. More on this can be found in the section entitled Adding Your Own Signatures.
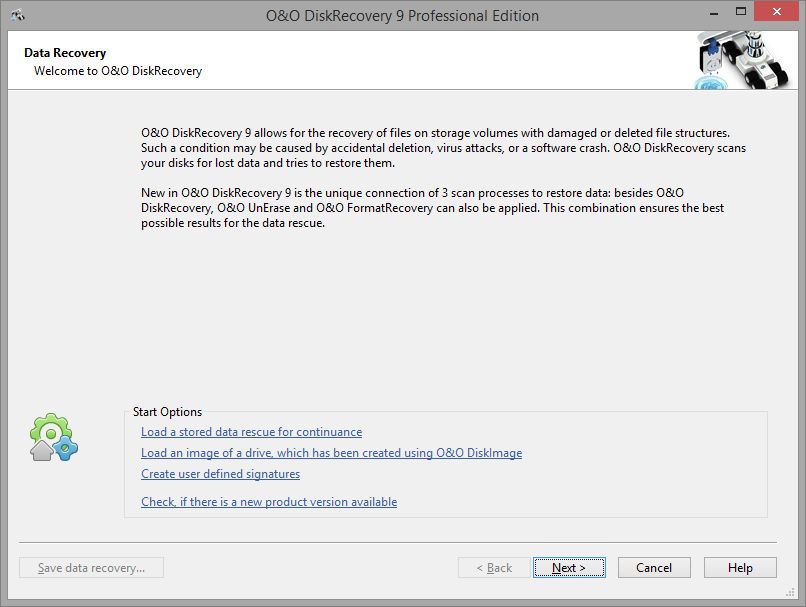
O&O DiskRecovery startup dialog box