You can adapt O&O FileBackup to your needs in the start menu via ![]() . Here it’s possible to determine, for example, whether created settings should be saved and applied as preferred settings when you start the program the next time.
. Here it’s possible to determine, for example, whether created settings should be saved and applied as preferred settings when you start the program the next time.
Settings
General
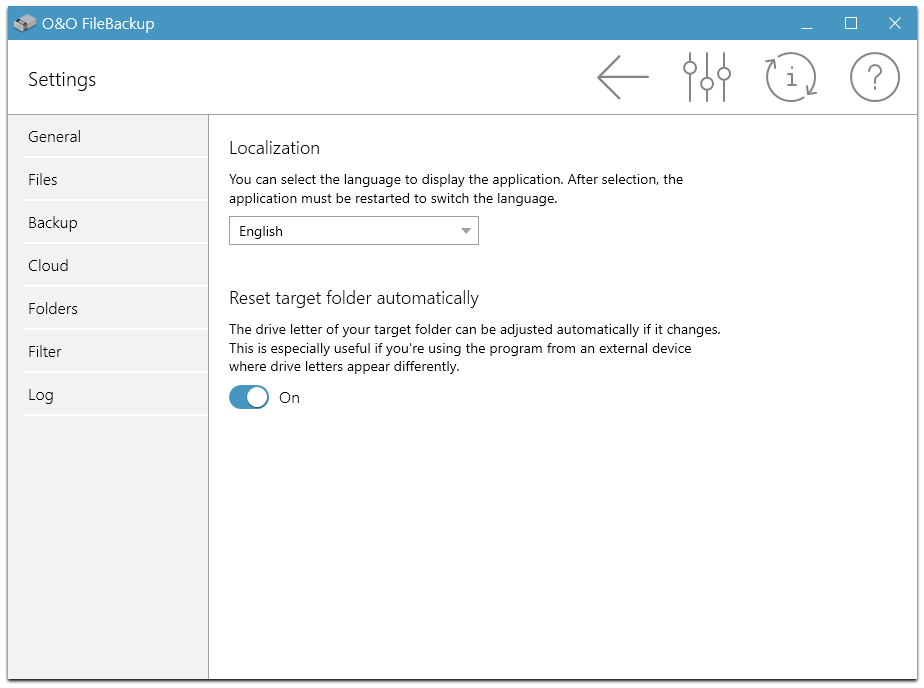
Change language
You can change the display language of O&O FileBackup. This will automatically restart the program.
Reset target folder automatically
The drive letter of your target folder can be adjusted automatically if it changes. This is especially useful if you`re using the program from an external device where drive letters appear differently.
Files
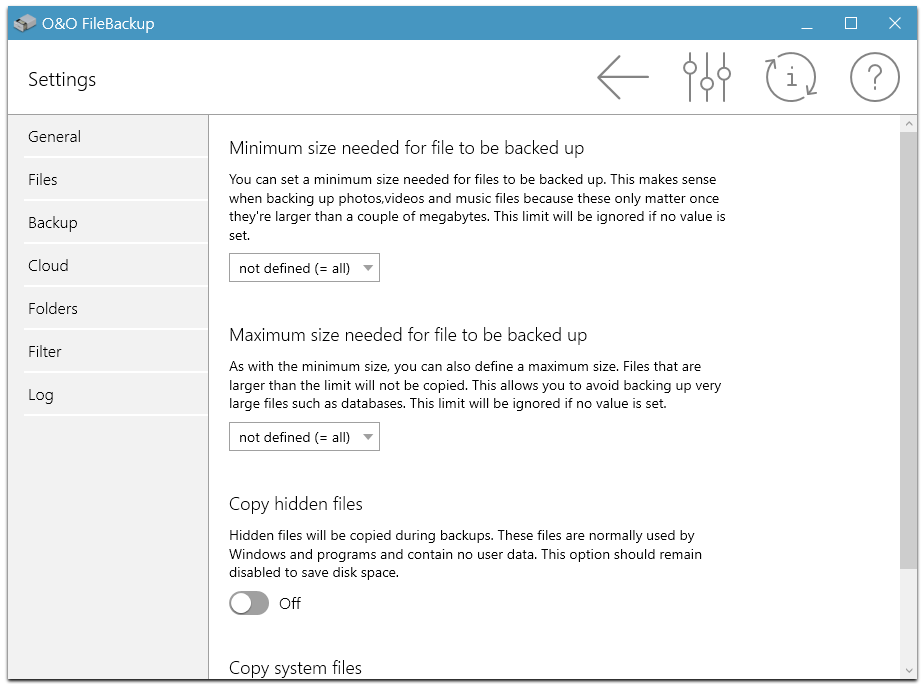
Minimum size needed for file to be backed up
You can set a minimum size needed for files to be backed up. This makes sense when backing up photos, videos and music files because these only matter once they're larger than a couple of MBytes. This limit will be ignored if no value is set.
Maximum size needed for file to be backed up
As with the minimum size, you can also define a maximum size. Files that are larger than the limit will not be copied. This allows you to avoid backing up very large files such as databases. This limit will be ignored if no value is set.
Copy hidden files
Hidden files will be copied during backups. These files a renormally used by Windows and programs. This option should stay disabled to save disk space.
Copy system files
System files will be copied during backups. These files a renormally used by Windows and programs and contain no user data. This option should stay disabled to save disk space.
Settings - Files
Backup
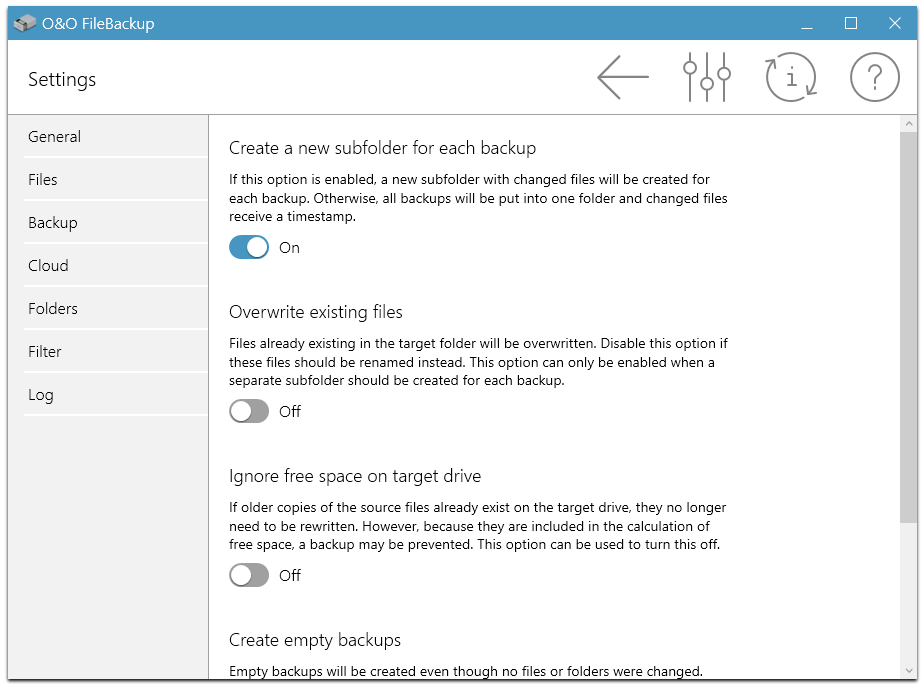
Create a new subfolder for each backup
lf this option is enabled, a new subfolder with changed files will be created for each backup. Otherwise, all backups will be put into one folder and changed files receive a timestamp.
Overwrite existing files
Files already existing in the target folder will be overwritten. Disable this option if these files should be renamed instead. This option can only be enabled, if each backupshall be written to its own subfolder.
Create empty backups
Empty backups will be created even though no files or folde rs were changed .
Create empty folders
Allows empty folders from the source to be created in the backup. This option should be disabled to make navigation in the backup easier.
Settings - Backup
Cloud
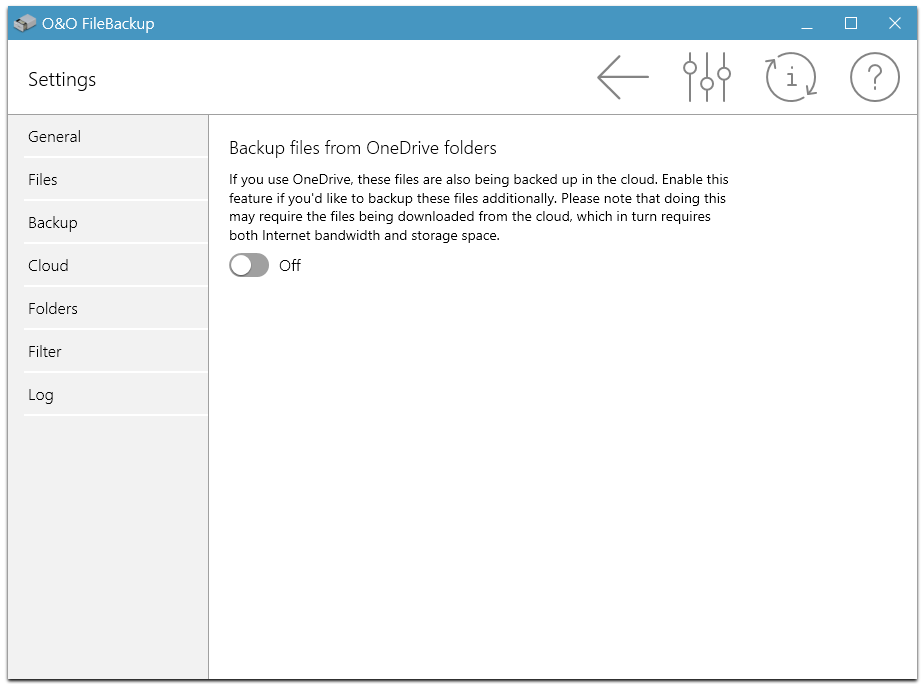
Backup files from OneDrive folders
If you use OneDrive, these files are also backed up to the cloud. lf you would like to have these files backed up additionally, please activate this function. Note that this may require the files to be downloaded from the cloud, which requires both Internet bandwidth and storage space.
Settings - Cloud
Folders
You can exclude folders from backups if they don't contain any personal data. These are, for example, program folders or the Windows folder, and are defined by default. You can make changes to these folders below.
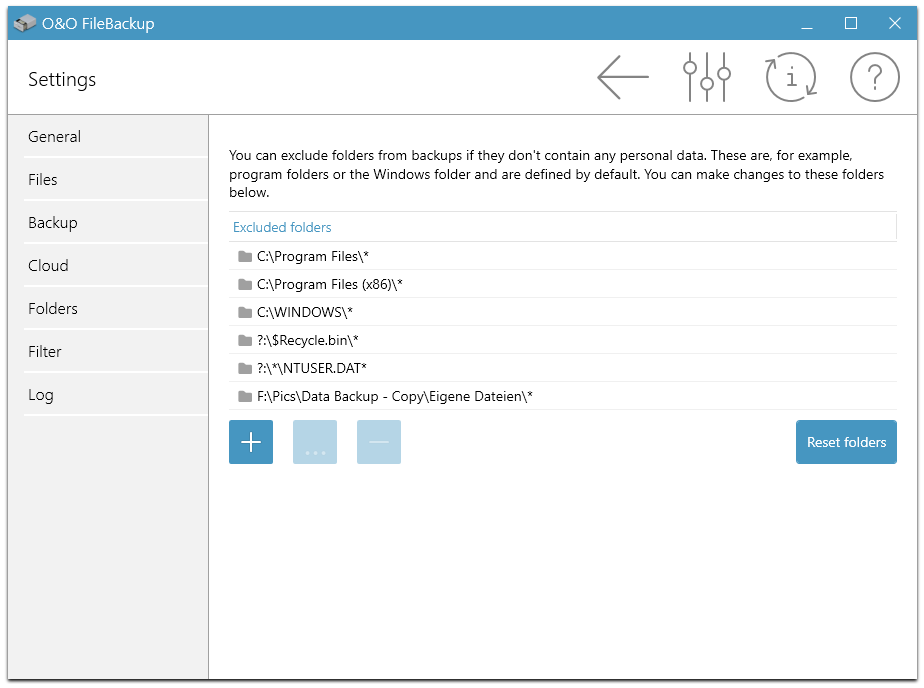
Settings - Folders
Filter
Filters allow you to summarize and back up specific types of files. To do this, define a filter and add appropriate file endings. This is then used to include the files in the backup.

Settings - Filter
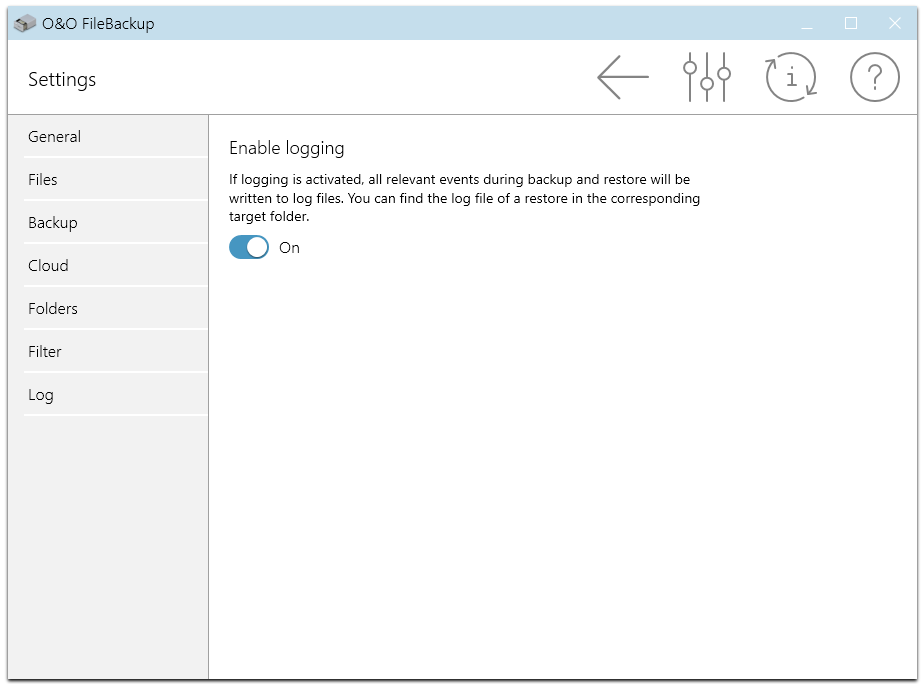
Log
Enable logging
lf logging is activated, all relevant events du ring backup and restore will be written to log files. You can find the log file of a restore in the corresponding target folder.
Settings - Log
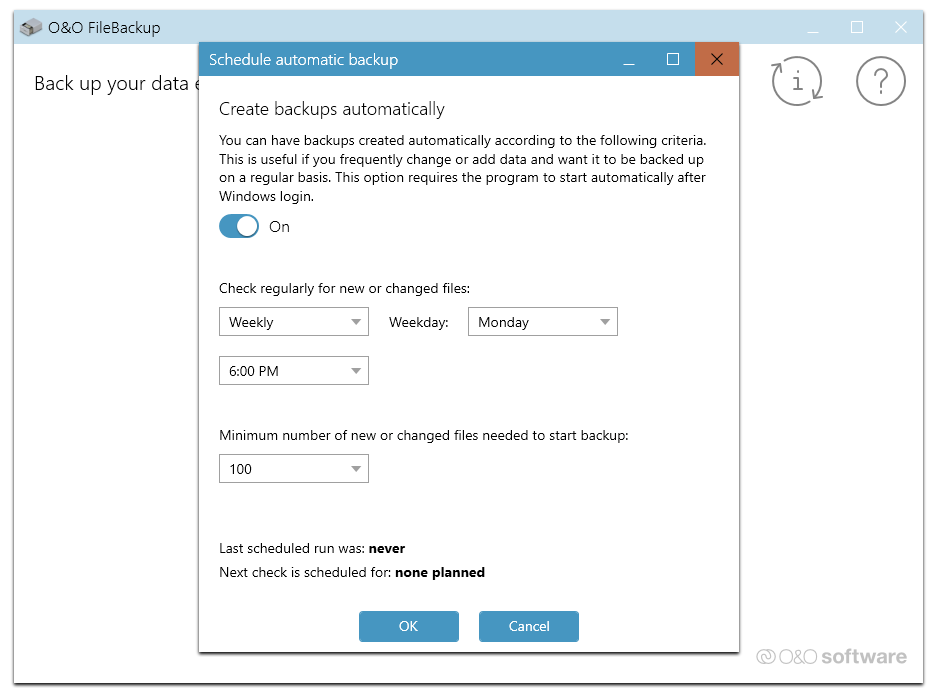
Scheduling
Create backups automatically
You can create backups automatically defined by the following criteria. This is useful if you change or add data frequently and want it to be backed up on a regular basis. This option requires the program to start automaticalty after Windows login.
In order to execute jobs on a regular basis, the starting conditions (e.g., source drive, images, or target drives) have to be the same. If you make changes to a drive's name, the storage location of the image, or on the layout of a target drive, the job may no longer be executed successfully.
Settings - Scheduling