Connect the drive, from which you would like recover data, to your computer. It is necessary that your computer is running a compatible version of Windows.
O&O DiskRecovery - Start page
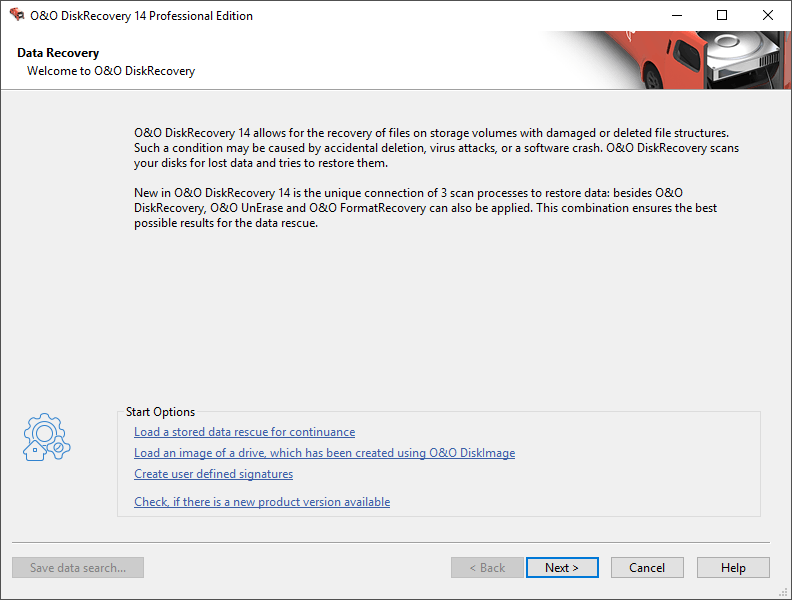
- Start O&O DiskRecovery from Start/All Programs/O&O Software/O&O DiskRecovery.
- After the start you will get to the drive selection by clicking on Continue. Select the drive on which you would like to recover data and confirm by clicking on Next.
- Confirm the initial data recovery settings on the next page by click on Next. After the following page, you can start the data recovery operation.
- After the scan for deleted data has been completed you may now select from the list of folders and files the deleted files you would like to restore. With some file types (e.g. pictures) you can see the content of the file. This function is activated with preview.
- ClickingNext will lead you to the selection of the target folder. In this folder your restored files will be saved.
- In the next step the files will be restored. After this is complete, you will be able to view a status report of all actions taken up to this point. You can now close O&O DiskRecovery.
Note
Please make sure that there is sufficient disk space on your system and the target folder is not located on the drive where you would like to recover the deleted data.
Please make sure that there is sufficient disk space on your system and the target folder is not located on the drive where you would like to recover the deleted data.
Regarding O&O RescueBox/O&O BlueCon
It is possible to execute the data restoration directly from the bootable O&O BlueCon-CD without needing a bootable Windows operating system! More information on this can be found in the O&O BlueCon user's handbook or at http://www.oo-software.com
It is possible to execute the data restoration directly from the bootable O&O BlueCon-CD without needing a bootable Windows operating system! More information on this can be found in the O&O BlueCon user's handbook or at http://www.oo-software.com