Creating a bootable CD Image
To create a bootable disk, open the Tools menu and select the option Create bootable disk. Creation is done with the help of a wizard in 2 phases. During the first phase, all the data and settings needed for starting O&O DiskImage will be collected and copied. Once completed, a CD image will be created.
Creating the boot image
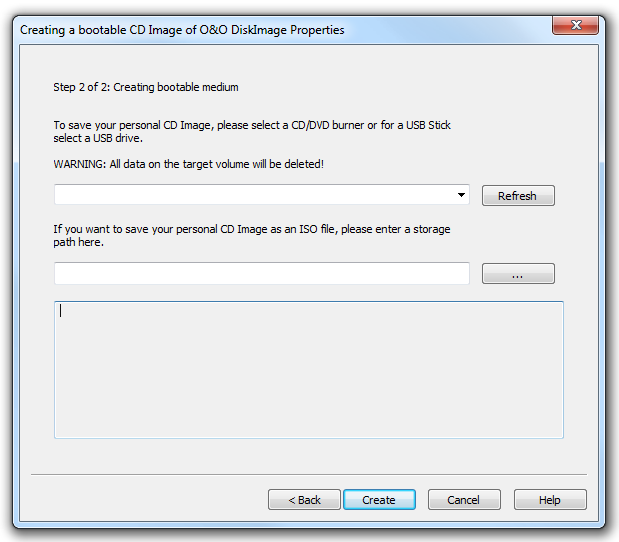
In the second phase you’ll be able to either save this CD image as a file or burn it on a CD/DVD/Usb-stick.
The bootable disk is created based on the operating system you are using. This means that if you have a 64-bit system, a 64-bit boot disk will be created. Using a 64-bit boot disk you’ll be able, among other things, to restore images of GPT hard disks under UEFI/EFI systems.
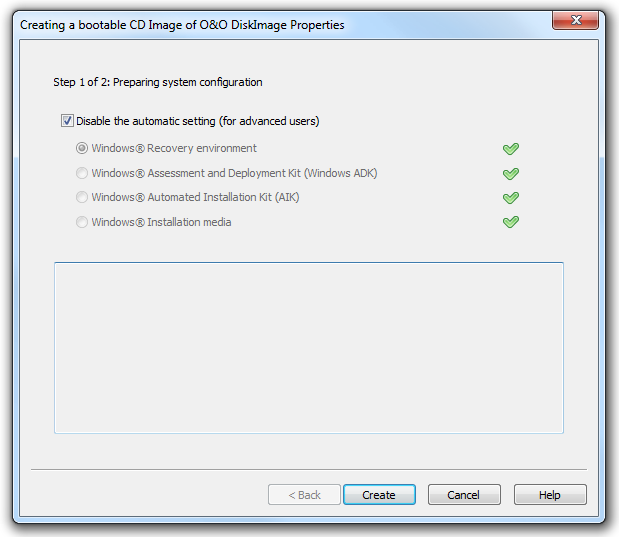
Creating a bootable disk with O&O DiskImage is possible by going to the menu item "Tools"/"Create bootable disk…". This feature detects those options available for creating a bootable disk within the system. It will then copy all the files that are required for doing this. To begin the process, click "Create". Once this step is successfully completed, click "Next" to reach the second page of the wizard.
The current options available for creating will be identified with a green check. Those options not available, because their components are either not installed or not recognized, will be displayed in red.
When enabled, automatic prioritization guarantees that the best option for creating will be selected automatically. Select "Disable the automatic setting" if you wish to use another option. Once this is done, the various options available for creating will be displayed for selection.
The program will first try creating a bootable disk using the Windows® recovery environment. When this isn’t possible, it will use the "Windows Assessment and Deployment Kit (ADK) for Windows®". The Kit contains a combination of tools that can be used for personalizing, evaluating, and preparing Windows operating systems for use on new computers. Microsoft® has made the Kit available for download under http://www.microsoft.com/en-us/download/details.aspx?id=30652 . As an alternative, you can also use the "Windows® Automated Installation Kit (AIK) for Windows®" to create a bootable disk. "Windows® Automated Installation Kit (AIK) for Windows® 7" can be helpful when installing, customizing, and preparing operating systems from the Microsoft Windows® 7 and Windows Server® 2008 R2 families. It can be downloaded from Microsoft® under http://www.microsoft.com/en-us/download/details.aspx?id=5753.
As a last option, you can use the Windows® installation disk to create a bootable disk. If this option is selected, the Windows®installation disk itself will need to be directly inserted.
Creating a bootable CD Image 2
The next step will involve using the data detected to create a bootable disk. You have the option to burn the CD image onto a CD/DVD or copy it onto a USB stick. Select the CD/DVD burner or USB drive you want. You also have the option of saving the CD image as an ISO file for later use. This will require your entering a file name as well as a path. To complete creation, click "Create".