Before setting up a job, you’ll have to select an activity.
- On the start page, click the activity you want to perform, e.g. Drive imaging, or File backup.
- Select a drive or, in case of a file backup, a folder.
- Click Options if you want to specify certain settings for a job, such as the imaging method, encryption, or compression. Your settings will then be saved and applied to the subsequent job.
- Now click the symbol Add as job.
- Enter the name of your job in the dialog. It will later be used for the creation of the report and serve as reference. The name of the job has only symbolic meaning and may already be applied to other jobs.
- Specify further settings such as scheduling, notification, imaging, etc.
In the field Notes you may enter text for providing a few details about the job.
Job enabled
If you don't wish to run a job for a short period of time but don’t want to delete it altogether, you may disable it. The job will then not be run until you enable it once again.
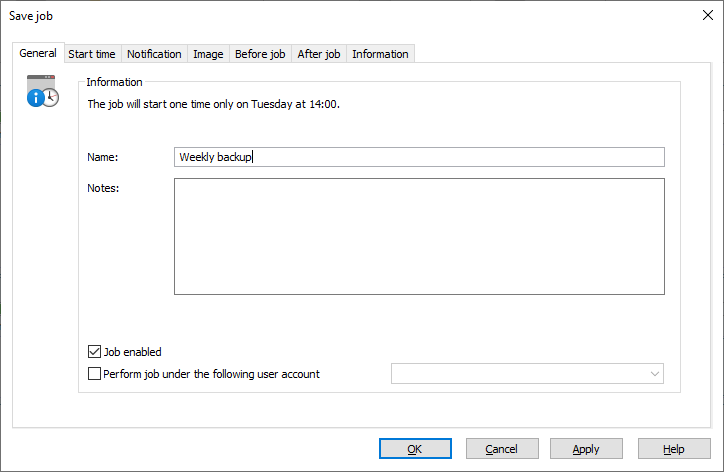
Execute Job as User
When creating a job, a recognized user can be selected in the security settings. When the task is executed it will be listed under that users account. This applies both to saving the image as well as preliminary work and editing. This enables the use of commands in preliminary work and editing, but these require authentification information and access to a network.
Start time - Scheduling
Under Scheduling in the Job assistant, you can specify the exact moment when a job should be run. A job can be performed one time only or repeatedly. The options for execution (date, day of the week) will change along with the corresponding selection.
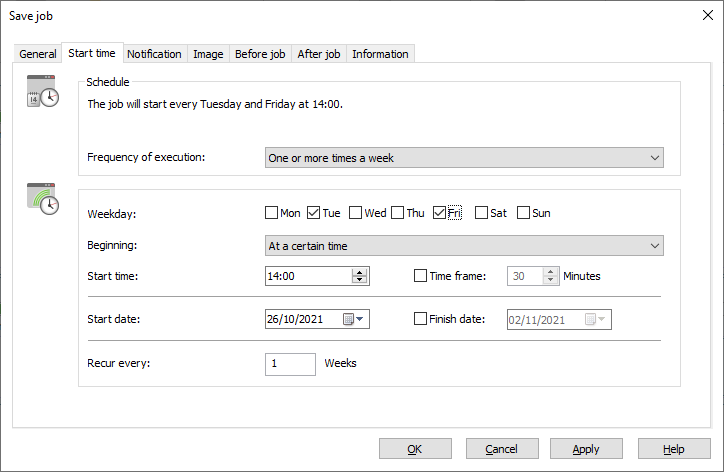
Scheduling jobs
- Time
For weekly execution:
- Selection of weekday, date, and time
- Selection of the start and finish dates for the interval. The job will be performed, for example, five weeks in a row, once a week.
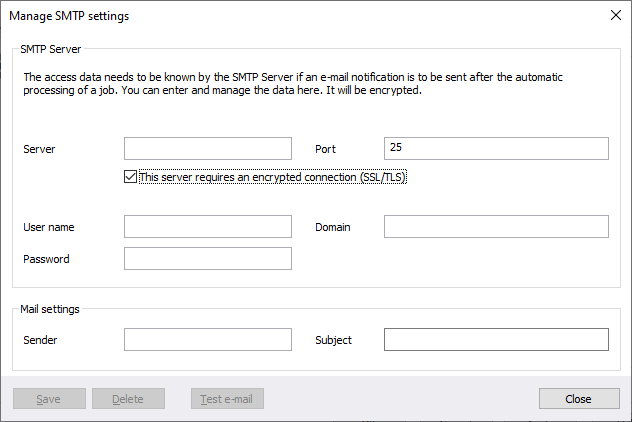
Notification
In the Job assistant under Notification, you can arrange to be notified by email about the running of tasks during events.
- If you want to be notified about the running of a job, select an event and enter your email address in the field for recipient.
In order for your entry to be successfully processed, you'll have to set the sender data of your email server in Program settings under Notification.
Job Notification
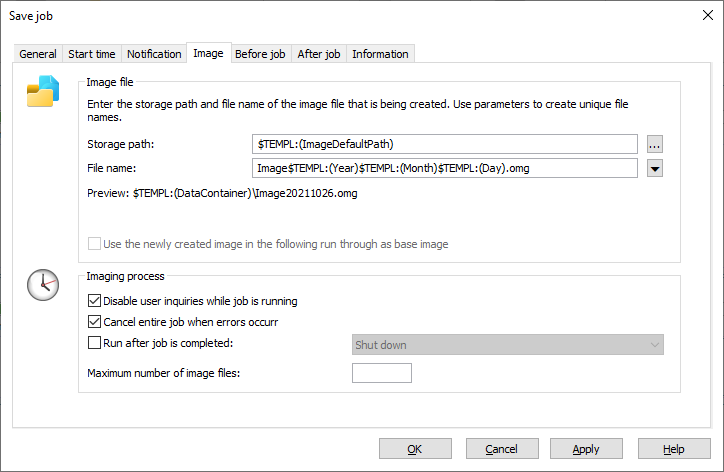
Image - Options
You can set additional options for your job in the fourth tab (Image) of the Job Wizard. The choice of settings is based on your selected activity. For an imaging activity, you could, for example, enter a storage location and a name for the image.
Job Assistant
Disable user inquiries while job is running
User inquiries are questions that can arise during the normal course of running a job or while the scripts are being processed.
If in doubt, you will need to confirm questions, e.g. with a security check if the name of the image already exists. The job will thereby be interrupted because the user either has to make a decision or additional information is required for continuing. You can setup some user queries with special parameters: for this please consult the script documentation.
User queries are currently made only if the user interface of O&O DiskImage is open.
User queries will not be filed until the user interface is closed during job execution, or if you have enabled the option Disable user inquiries while job is being run. Should this interactive option be turned off, in a worst case scenario there will be no confirmation dialog while the job is being run and it will be aborted by default and logged as an error.
Abort entire job when an error occurs
The job will be aborted whenever an error occurs.
Run after job is completed
Here you can choose between Restart and Shut Down. If you don't select anything, the computer will return to its condition prior to imaging. It will usually just remain on.
Characteristics of an imaging job
Storage path
The target path to the storage location of the image will be applied from the program settings by default. You may, however, select or enter a new path manually.
Apply dynamically generated file names
For a file name, the terms “Image” and the dynamically mounted parameters “year”, “month”, and “day”, will be used by default. In addition, you can select from a list of alternative parameters. If you’re making, for example, a number of images on a single day, it’s advisable to include the “time” in the file name. Otherwise, files with the same name would emerge and that could lead to the imaging process being aborted.
If you’re using O&O DiskImage on a computer in a network, the data from the computer will be automatically read and file names will be dynamically generated. You could, for example, add the “Computer Name” to the image name for use in a network.
Run commands before and after a job
Carrying out commands before and/or after a job can allow you to stop certain Windows services and then restart them again afterwards. If you’re using O&O DiskImage on a Microsoft Exchange or SQL-Server, you could stop these services beforehand, create the image and then have them automatically start again once the imaging is done. You no longer need to create a script to do this.
Before Job
If you select this option, the commands entered in the text field will be carried out before the job begins. You can also import existing command files so that their contents will be shown in the text field. Just click on Import select the file in the dialog (.BAT, .CMD or .TXT). Confirm with OK.
Please make sure that all commands exist and are able be carried out on the target computer. All commands will be carried out under the SYSTEM User and his permissions.

Before Job
After Job
If you select this option, the commands entered in the text field will be carried out when the job is completed. Entry and application is similar to the command instructions in “Before Job”.
Please make sure that all commands exist and are able be carried out on the target computer. All commands will be carried out under the SYSTEM User and his permissions.
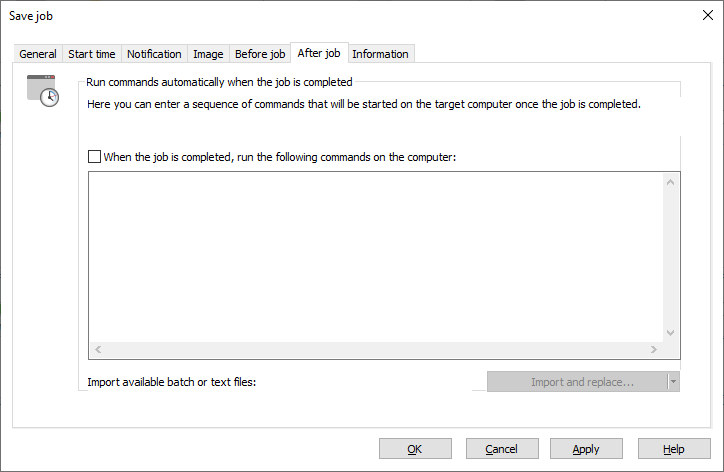
After Job
Information
The exact settings of a job are listed under Information in the Job assistant. The view provides information only; you will not be able to make any changes there.
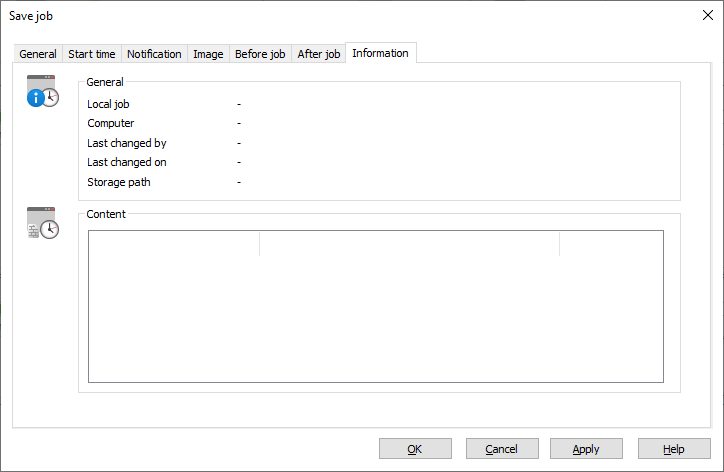
Information